The Art of Milk Frothing: How to Achieve Perfect Microfoam for Lattes
Step-by-Step Guide to Frothing Milk
Achieving perfect microfoam is a matter of technique. Here’s how to do it:
Step 1: Start with Fresh, Cold Milk
Using cold milk helps you control the frothing process and prevents the milk from overheating too quickly. Fill your milk pitcher about one-third full, leaving enough room for the milk to expand as it froths.
Best Milk Options:
- Whole Milk: Ideal for a creamy texture with smooth microfoam.
- Low-Fat Milk: Produces more foam but is less creamy.
- Alternative Milks: Look for barista blends, as they’re formulated to froth well (oat, almond, and soy work best).
Step 2: Position the Steam Wand
Before starting, purge the steam wand to release any residual water. Next, submerge the tip of the steam wand just below the surface of the milk, tilting the pitcher slightly for an angle. Positioning is key here—the goal is to create a vortex or whirlpool motion in the milk.
Step 3: Introduce Air for Microfoam
Turn on the steam wand to full pressure and allow air to be drawn into the milk. This step, called stretching, is where the milk begins to expand. You’ll hear a gentle hissing sound as air is introduced. Let this process happen for only a couple of seconds, just enough to create a small amount of foam.

Step 4: Submerge the Wand and Heat
Once you’ve introduced some air, lower the steam wand slightly deeper into the milk to eliminate larger bubbles and create a dense, silky microfoam. At this point, you want the milk to start spinning in a whirlpool motion, which will evenly distribute the bubbles and create a velvety texture.
Step 5: Monitor the Temperature
As the milk heats, keep your hand on the pitcher to gauge temperature. When it feels hot to touch but not scalding (around 60-65°C or 140-150°F), it’s ready. Avoid overheating, as this can cause the milk to lose its sweetness and degrade the foam texture.
Step 6: Tap and Swirl
Remove the steam wand, clean it immediately, and then gently tap the pitcher on the counter to break any remaining larger bubbles. Swirl the milk in the pitcher until it appears smooth and glossy. Properly frothed microfoam should have a thick, paint-like consistency.
Pouring for the Perfect Latte Art
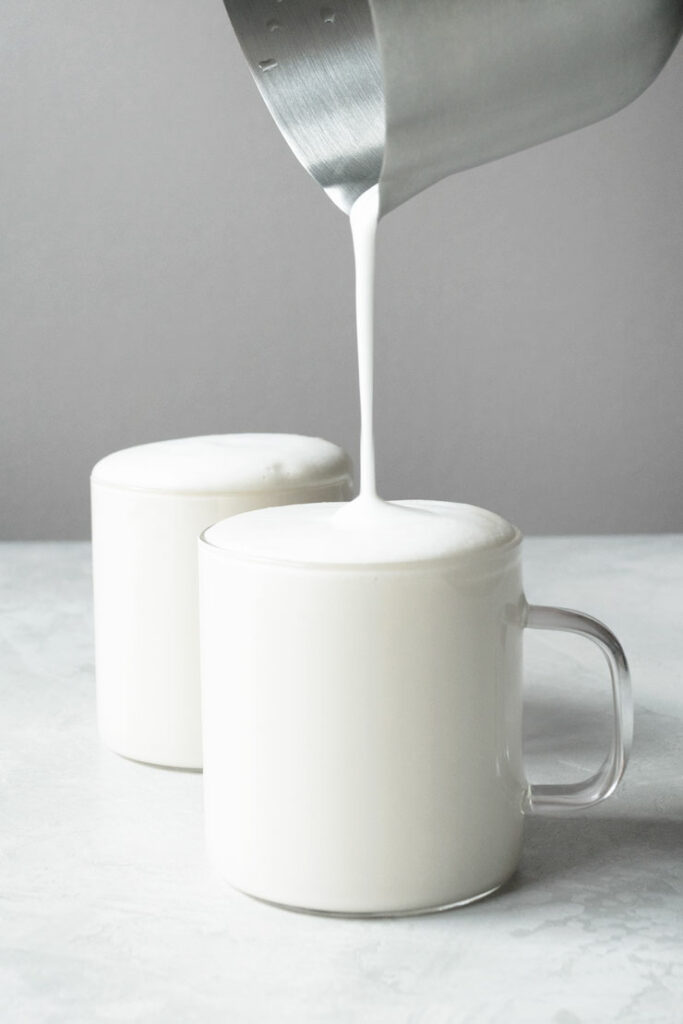
Now that you’ve achieved microfoam, it’s time to combine it with your espresso shot. Pour slowly, starting from a higher position and gradually lowering the pitcher as you reach the cup’s surface. For a classic latte, aim for a smooth, even layer. For those interested in creating latte art, this is the moment to practice hearts, rosettas, or tulips—microfoam’s texture makes it the perfect medium for these designs.

Troubleshooting Common Milk Frothing Issues
Perfecting microfoam can take practice. Here are some common issues and tips to troubleshoot:
- Milk is too bubbly or foamy: You may have introduced too much air. Try lowering the steam wand sooner and creating a more controlled whirlpool motion.
- Milk isn’t frothing at all: Check that your steam wand is properly purged and that the milk is fresh and cold.
- Milk gets too hot: Overheating can cause milk to taste scalded and reduce foam stability. Practice stopping the frothing process at the right temperature.
- Large bubbles on the surface: Gently tap and swirl the pitcher to incorporate any remaining bubbles into the microfoam.
Tips for Different Types of Milk
While whole milk tends to be the go-to choice for creamy microfoam, alternative milks can also work well with a few adjustments:
- Oat Milk: One of the best non-dairy options for frothing, oat milk creates smooth microfoam with a neutral flavor.
- Almond Milk: Froths well but can be challenging to keep from separating. Look for barista blends for better results.
- Soy Milk: Froths similarly to whole milk but can curdle at high temperatures, so keep it slightly cooler.
- Coconut Milk: Tends to be thicker, so use less frothing time to avoid overly thick foam.
Frothing Milk at Home
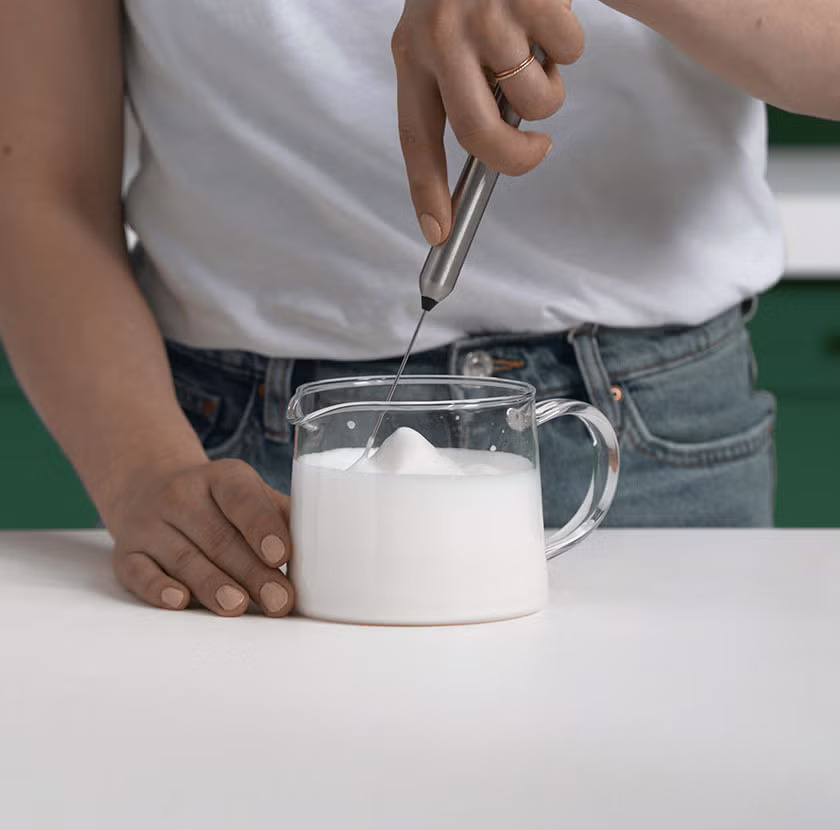
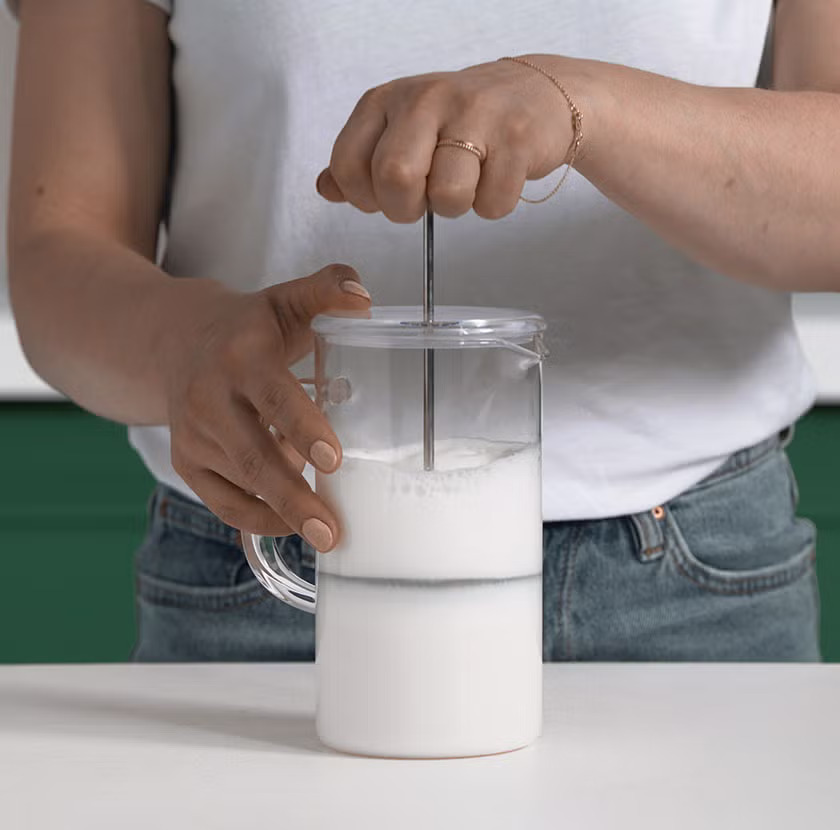
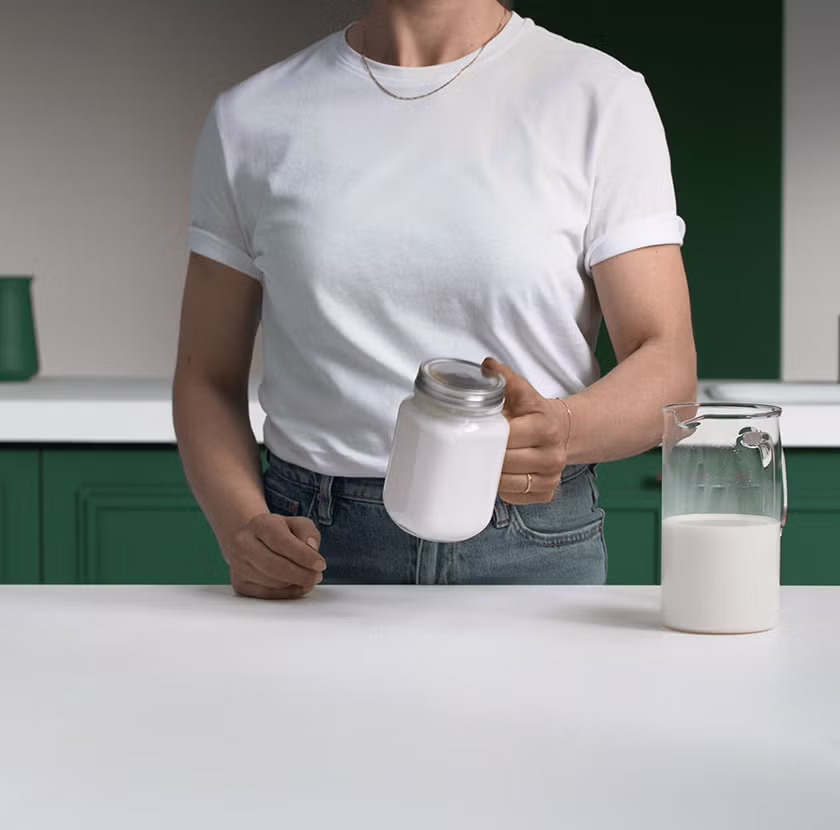
Not a subject covered in this article, perhaps we could look at this in another article, here are ways to froth milk at home without an espresso machine with steam nozzle or a standalone milk wand with steam wand. It may be more difficult to achieve that microfoam texture without some elbow grease, but if it is all you have to work with, it is worth a try.
- French Press
- Manual Milk Frother
- Handheld Milk Frother
- Mason Jar Frother
- Electric Stovetop Frother
- Immersion Blender
- Blender
- Whisk
Images by Starbucks
Final Thoughts
Mastering the art of milk frothing takes patience and practice, but once you’ve perfected your technique, it will transform your home coffee experience. The secret to achieving perfect microfoam lies in balance: the right milk, temperature control, and a steady hand. With each cup, you’ll get closer to that ideal texture and enjoy a latte that’s smooth, rich, and oh-so-satisfying.
So, grab your milk pitcher and steam wand, and start practicing! Soon, you’ll be creating lattes with a beautiful microfoam that rivals your favorite coffee shop.

