Make Your Own Improved Charcoal Terra Cotta Smoker: Green Egg & Kamado BBQ alternative
Here is a much improved terracotta clay pot smoker using Weber Cooking Grate, secondary smoking grate with a bucket BBQ as a fire bowl, handles from IKEA and good sized flower pots.
There have been many flower pot ovens on the Internet, here is our version of the flower pot smoker using quality components and dedicated fire bowl. For more inspiration, check out our article with the Top 5 Best DIY flower Pot Smoker BBQ as rated by viewers. What you will need to make your own flower pot oven:
- Two big flower pots 15.5-inch diameter and 12.5-inch tall (no plastic of course).
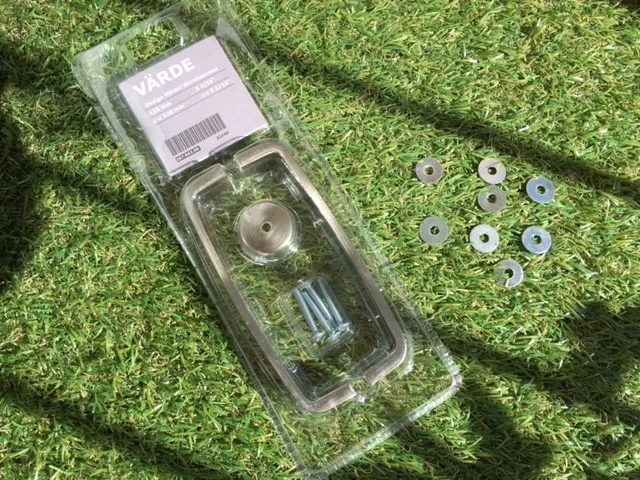
- IKEA VARDE cabinet handles or equivalent.
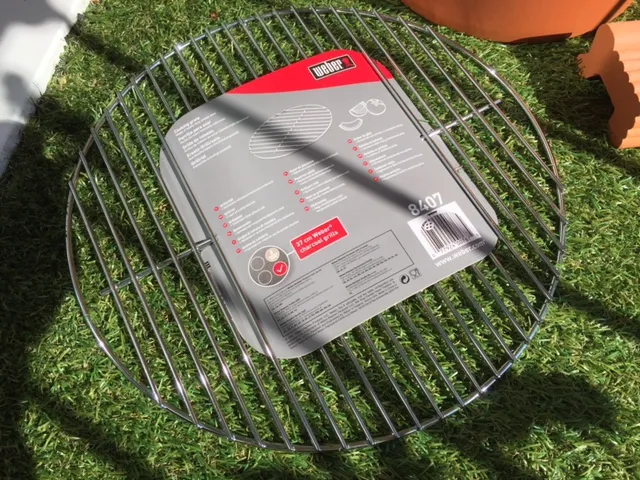
- Weber Smokey Joe 8407 Cooking Grill 37cm diameter (fits perfectly inside our chosen flower pot).
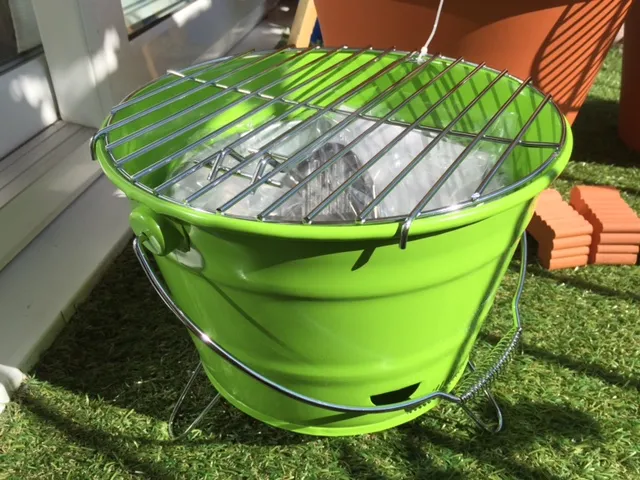
- Small bucket BBQ make sure it fits in the flower pot. Ours is approximately 11-inch in diameter.
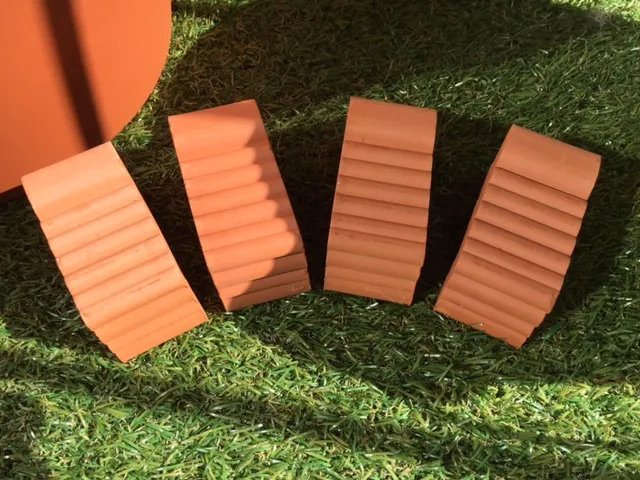
- 4 big flower pot riser.
- Washers to reinforce the cabinet handles.
We were fortunate to find a cooking grill that fits in the flower pot. It actually sits in the groove of the flower pot. The Weber Smokey Joe 8407 is a replacement grill for the kettle barbecue from Weber.
The small bucket BBQ was meant is optional. This can simply be cookie tin that functions as a fire bowl. We use the bucket bbq as it is designed to carry fired charcoal without warping or rusting afterwards. A cookie tin may not last as long. The small bucket bbq also has extendable legs that you will need to elevate the fire bowl. Inside the small bucket BBQ is the actual fire bowl with thick walls. We won’t be using the cooking grill here. You can also remove the handle as the small bucket will sit entirely inside the lower flower pot.
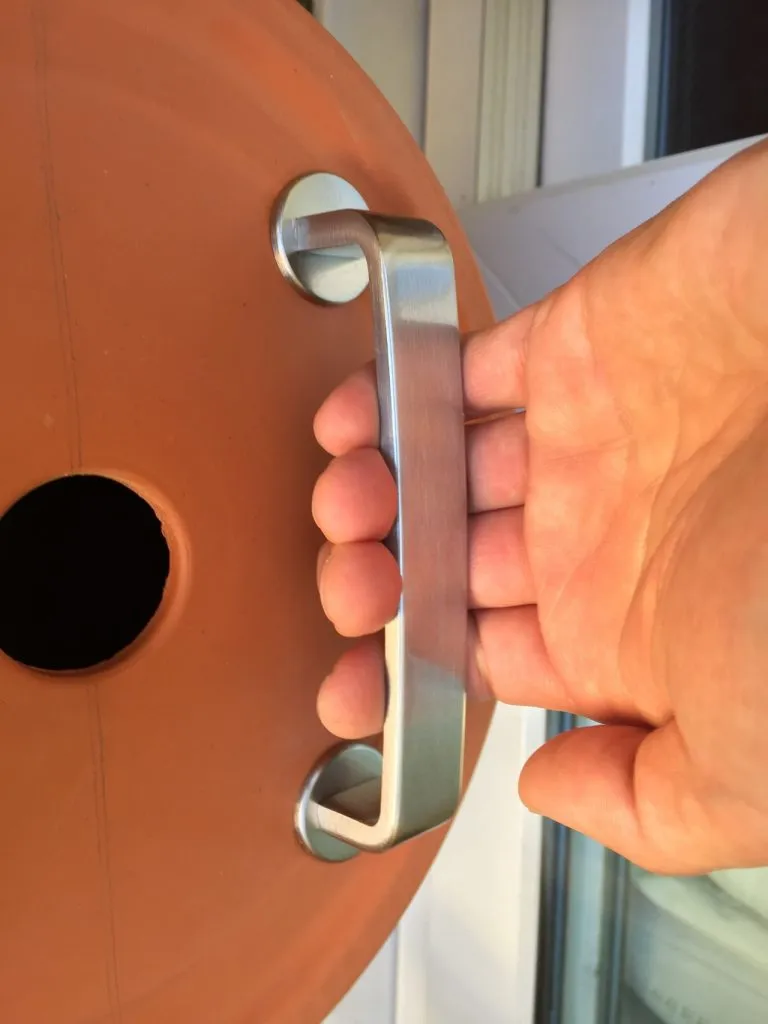
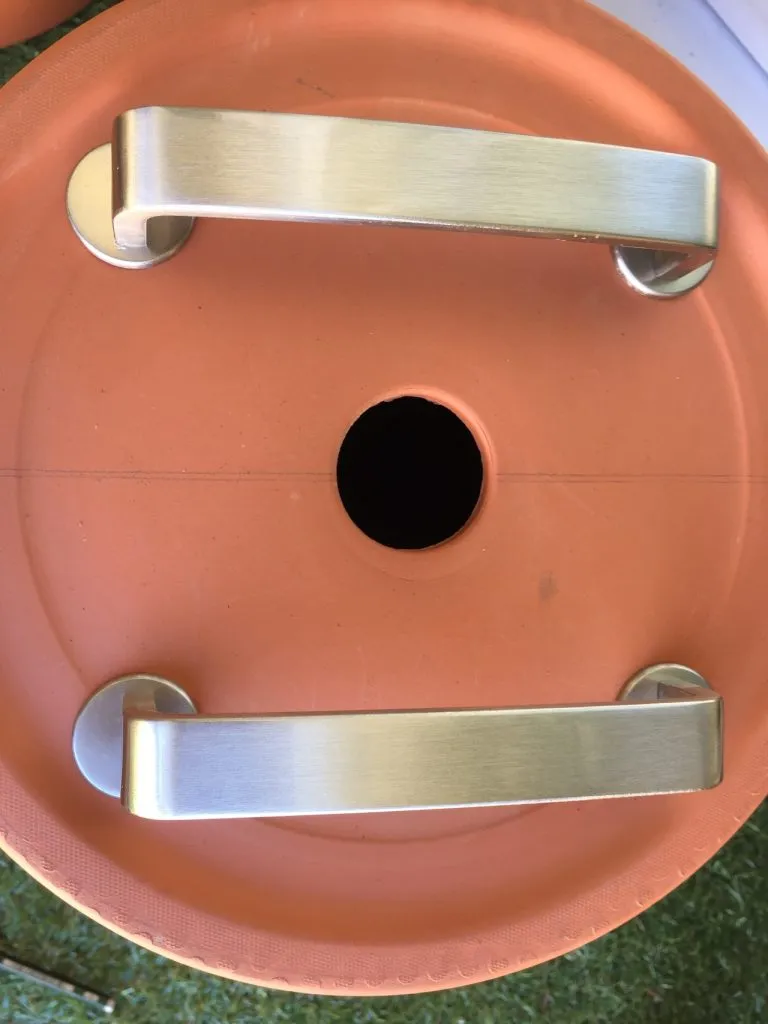
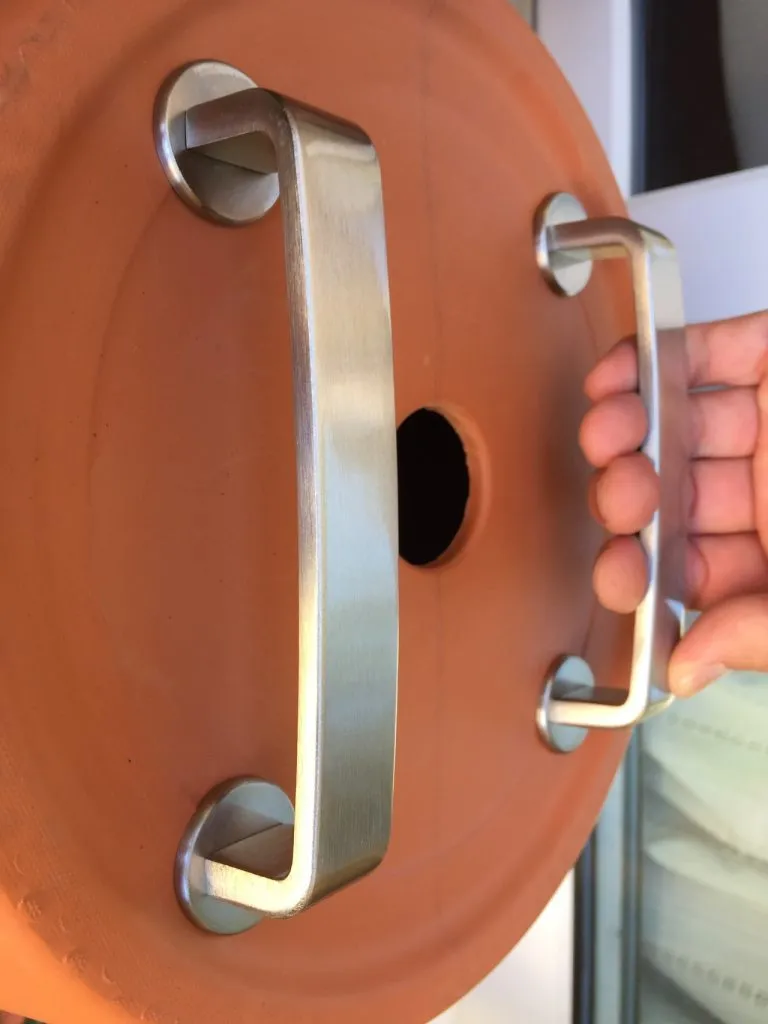
IKEA cabinet handle or equivalent, choose a good size handle with big screw head for better mounting. As it will be used to carry the weight of a big flower pot, you need a couple of big washers for each of the screens to increase the contact surface.
Use big terracotta flower pot riser to elevate the flower pot, allowing for air to pass from the bass of the flower pot to the top. We will be adding more holes for ventilation on the sides of the bottom flower pot to let in more air. These can be closed with a wine bottle cork to stop air flow if required.
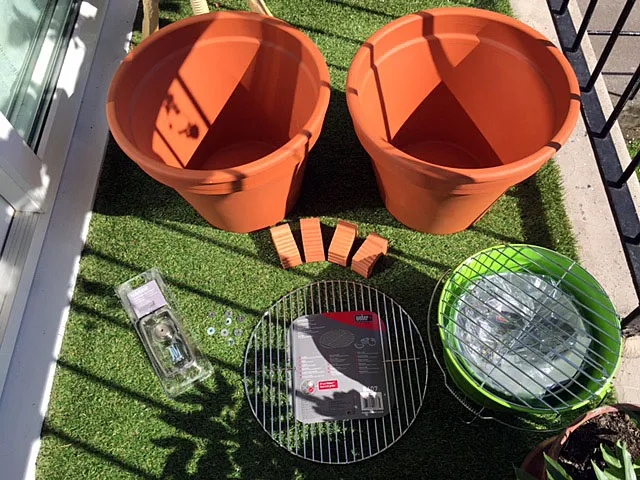
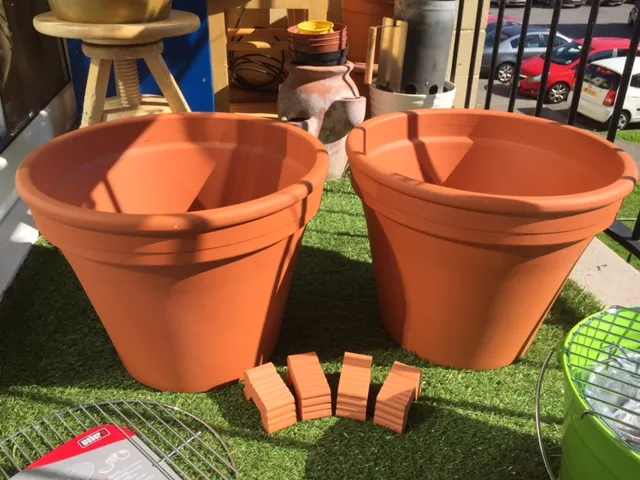
The two flower pots, Weber grill, flower pot risers, fire bowl and BBQ, handles and washers to complete the flower pot oven ready for assembly.
Assembly
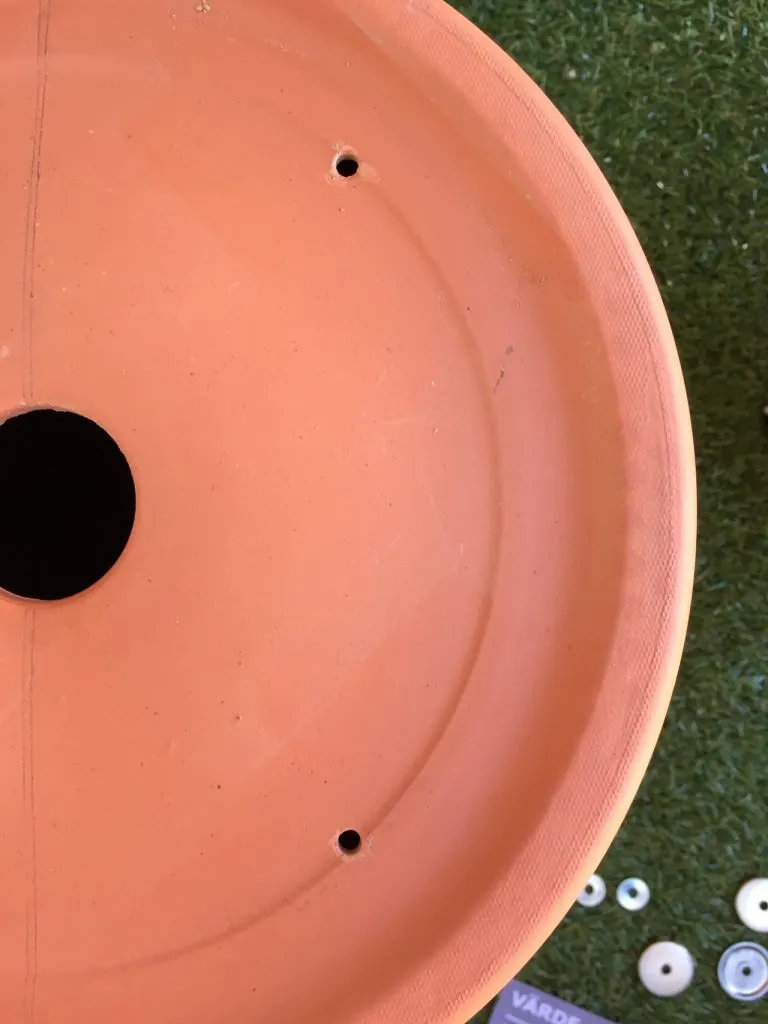
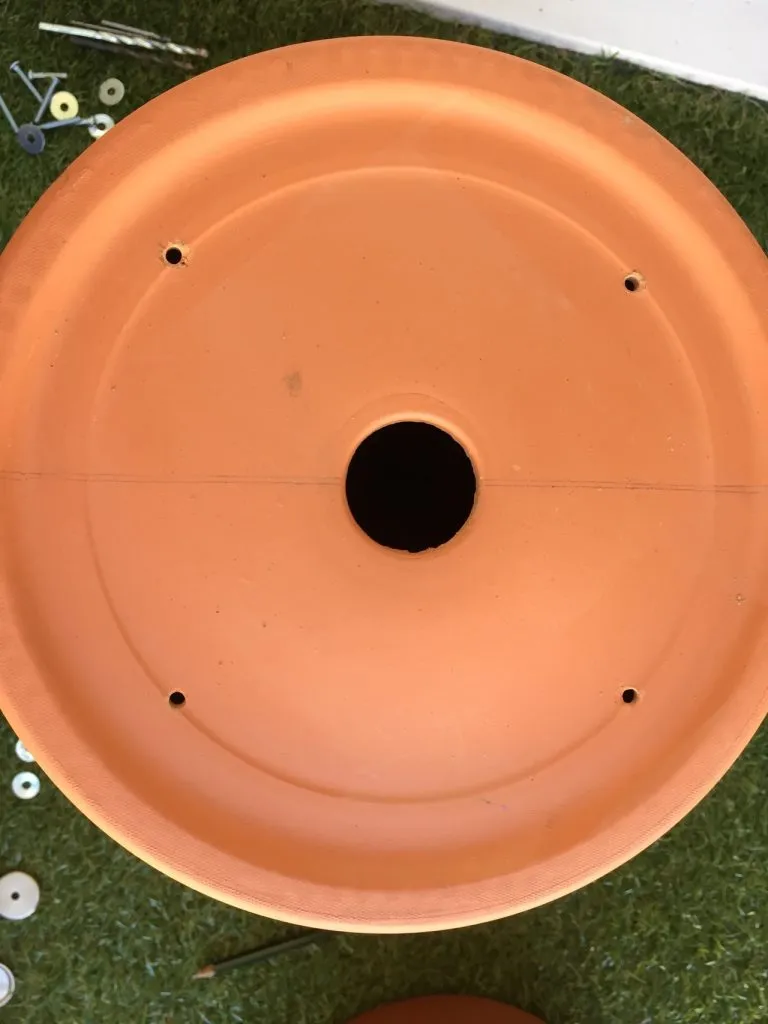
Turn one of the flower pots upside down, measure and drill holes to mount the handles. Make sure they are far apart from the upper vent hole so as to not burn your fingers when picking up the top half of the oven. Mount the handles, remember to use the washers on the inside of the pot for more contact surface making the handles more stable. Replace the screws to one with bigger head if needed.
For the bottom half, if you use a biscuit tin, use 3/4 even sized rocks spaced evenly on the base of the flower pot. Make sure you do not cover the lower vent. Then place the biscuit tin over the rocks. The tin serves as a fire bowl for the charcoal.
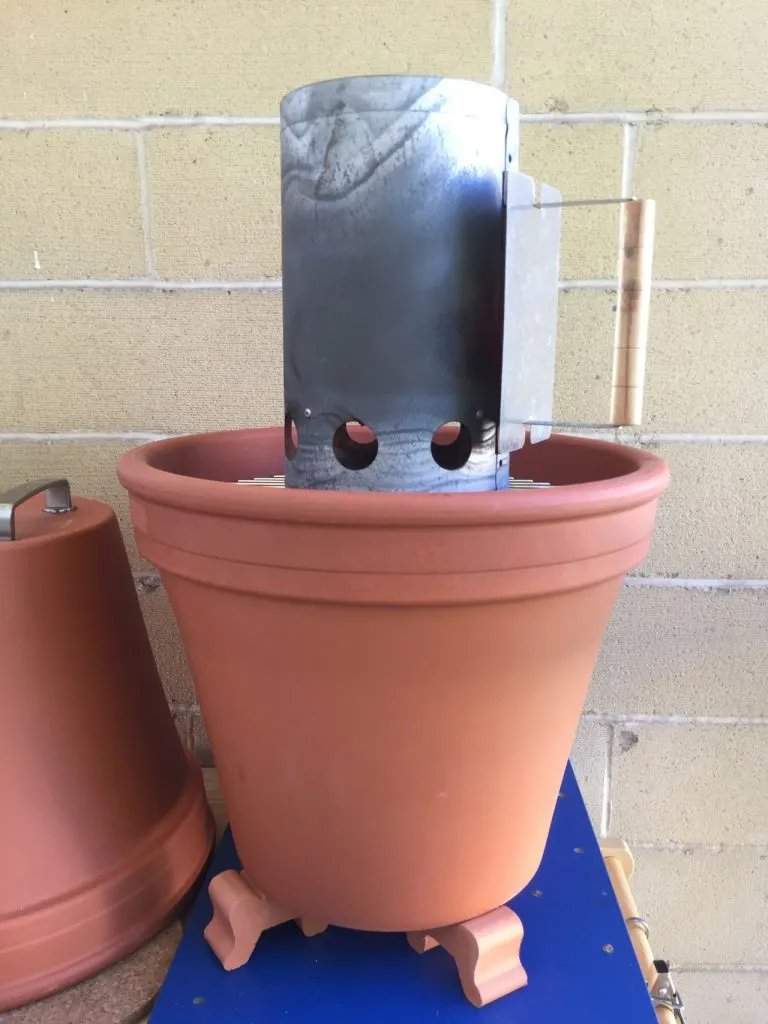
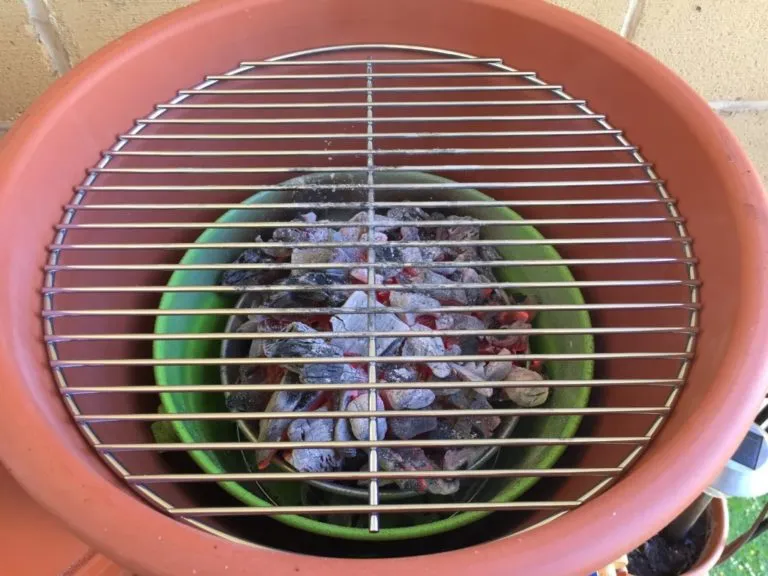
In our case, we use a small bucket BBQ minus the cooking grill and handle as a fire bowl. With its feet extended, the small bucket BBQ is placed insider the lower flower pot. We then fire the charcoal using a chimney. Allow the charcoal to burn for 15 – 20 minutes in the chimney then empty it carefully into the fire bowl of the bucket BBQ.
Carefully place the cooking grill over the fire and viola, you are ready to grill. Remember to use an oven gloves for your own protection when handling the upper or lower flower pot as well as the cooking grill. Finally, place your food in the center of the cooking grill then cover it with the upper flower pot.
Improvements
Overtime, we find ways to improve upon our terracotta flower pot oven design, this includes adding a BBQ Temperature Thermometer, more inlet vents to allow for better circulation or even an active fan to turn the oven into a fan assisted oven.
1. BBQ Temperature
Use an oven or BBQ temperature gauge mounted on the top half of the flower pot oven, you can cook more efficiently knowing the exactly temperature in the cooking chamber. We recommend choosing a BBQ temperature gauge with real readings. Make a small hole on the wall of the upper flower pot just big enough mount the temperature gauge, insert tip of the temperature gauge, align the gauge so the reading is upright and screw it on with supplied nut.
2. Meat Thermometer
Alternatively, use a wired or wireless meet thermometer that gives you the exact temperature of the meat. These are usually two parts, the meat probe itself wired to an external unit with a digital display. The wireless kind has an additional receiver so you can carry this around the house.
3. More Inlet Vents
You can use nails or circular hole saws to make holes on the base of the lower flower pot. These should ideally be no bigger than the size of a standard wine bottle cork. You can then use wine bottle corks to close these vents if the fire gets too big to control the temperature inside. We recommend 2 or more holes or up to 4 holes, evenly spaced.
4. Active Fan Oven
This requires a bit more thought and a basic power circuit or battery to power a fan. You can use a PC fan or USB powered fan placed under the lower flower pot to circulate air inside the oven for near smokeless cooking. For USB powered fan, this can be powered by an external USB battery charger, ones that you use to charge mobile phones and tablets.
