How to Make Your Own Tiered Cake Stands
A tiered cake stand is the ultimate must have for any afternoon tea party. A tiered cake stand typically of 3 plates of gradually diminishing size. The largest at the bottom forms the base while the smallest at the top, either a small side plate or sometimes a cup and saucer forms the pinnacle.

These are easily purchased in kitchen ware shops or even online on Amazon. These available options are usually more modern in style. While they might suit some parties, to achieve the look and finesse of a typical English afternoon tea party, a tiered cake stand crafted from antique collectible china is essential.
What you’ll need:
- Vintage collectible/antique china
- Cake stand fittings kit
- Tape measure
- Marker pen
- Masking tape
- Hand drill with diamond bit
Vintage collectible/antique china
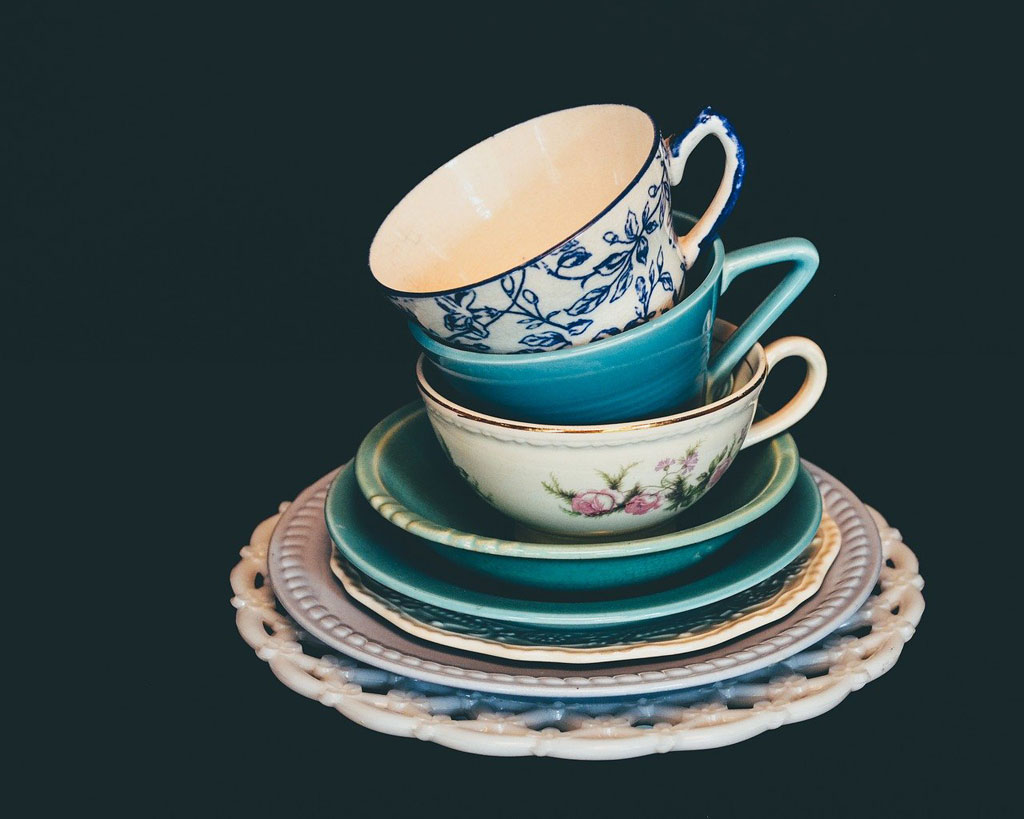
Weekend car boots, garage sales, thrift and charity shops are a great place to scour for collectible china. They are typically sold in sets or sometimes with mismatched pieces. While you’re searching for china that you’d like to turn in to a cake stand, you can be imaginative with the combinations and be open to mixing and matching from different periods. You could go for complementary or even contrasting colours and patterns. There is no hard rule about how it should look, only that you like it.
The plates that you collect for a tiered cake stand needs to be of at least 3 different sizes. A dinner plate, a dessert plate and a side dish. Sometimes a tea cup and its saucer can be used at the pinnacle instead of the side dish.

Do check to ensure that there are no hair line cracks on the plates as these may break when you drill through. Be prepared with a few spare pieces in case some break in the process of making the stand.
Cake stand fittings kit
So now that you have your china, you will need to get hold of a cake stand fittings kit. These are readily available on Amazon, Ebay or home shops.
These consist of 2 rods/tiers, a rod with handle, metal and foam washers and screws. They come in either silver or gold colouring and you can choose which would go best with the style of plates that you’ve selected.
Search Cake Stand Fittings Kit on Amazon
Other equipment
- Tape measure
- Waterproof marker pen
- Masking tape
- Hand drill with diamond/tile bit
Method
- Place a small strip of masking tape in the approximate centre of the plates
- With a tape measure and marker pen, find and mark the centre of each plate.
- Slightly dampen the masking tape, ensuring that the centre point is still clear.
- With your small sized drill bit, slowly and carefully drill a small hole in to the centre of the largest plate. Try to drill in short bursts to ensure that the drill bit does not heat up too much, as this too can cause the plate to crack.
- Once your hole is drilled, check its size against the screws of the fittings. If the drilled hole is too small, swap for a larger bit and enlarge the hole to fit.
- Wipe away the dust and check the plate for cracks.
- Repeat steps 4 – 7 for the other plates.
- When all plates have been drilled, wipe or wash them to ensure no dust remains.
- Fix your brand new cake stand with the cake stand fittings taking care to use the foam washers against the plate’s surface.
Congratulations! That’s it – you’ve made your very own tiered cake stand.
Now to fill it with yummy goodies!
